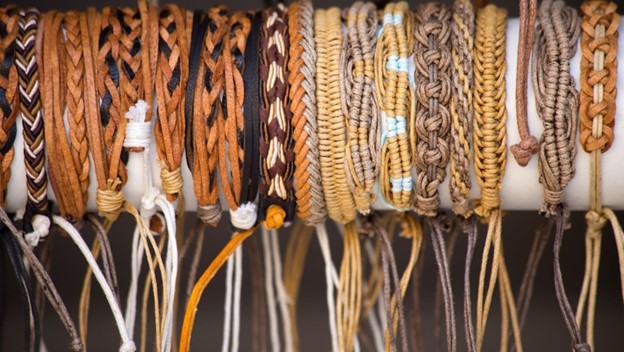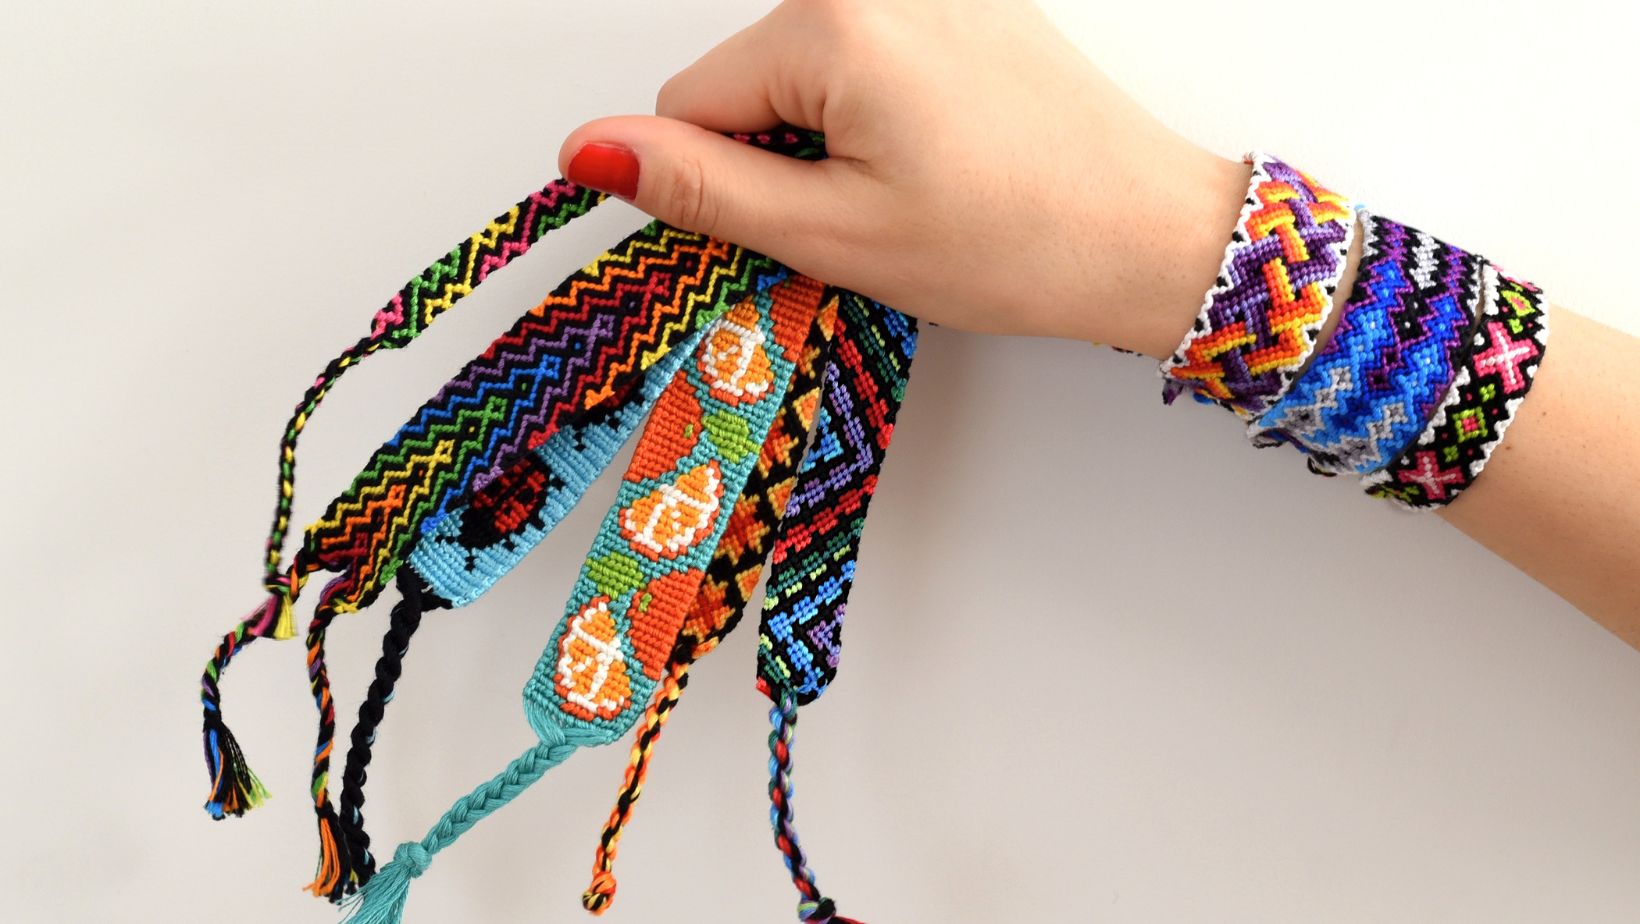
Hey there! Looking to add a touch of style to your wrist? Well, you’ve come to the right place! In this article, I’ll be showing you the ins and outs of tying a bracelet knot. Whether you’re a beginner or a seasoned DIY enthusiast, I’ve got you covered. Bracelet knots are not only trendy but also incredibly versatile, making them the perfect accessory for any occasion. So, grab your favorite bracelet and let’s dive right in!
Have you ever wondered how those intricate bracelet knots are created? Well, wonder no more! In this article, I’ll be sharing my top tips and techniques for tying the perfect bracelet knot. From simple knots to more complex designs, I’ll walk you through each step, ensuring you have all the knowledge you need to create stunning bracelets that will have everyone asking, “Where did you get that?”
How to Tie A Bracelet Knot
When it comes to bracelet knots, there are countless styles and techniques you can experiment with to create unique and eye-catching designs. In this section, I’ll walk you through some of the most popular types of bracelet knots that you can try.
1. Slip Knot
The slip knot is one of the simplest and most versatile knots for creating bracelets. It allows you to easily adjust the size of the bracelet by sliding the knot up or down the cord. To make a slip knot, simply fold the cord in half, creating a loop at one end. Then, pass the loose ends through the loop and pull tight.
2. Square Knot
The square knot, also known as the cobra knot, is a classic knot that adds an intricate and decorative touch to your bracelets. To make a square knot, start by crossing the left cord over the right cord. Then, bring the right cord over the left cord and through the loop created on the left side.
3. Double Knot
The double knot, as the name implies, is a knot that consists of two simple knots tied together. This knot not only adds visual interest to your bracelet but also adds extra security. To make a double knot, tie a simple knot with your cords.
4. Lark’s Head Knot
The lark’s head knot, also known as the cow hitch knot, is a simple yet effective way to connect cords and add decorative elements to your bracelet. To make a lark’s head knot, fold your cord in half and create a loop. Then, pass the folded end of the cord through the loop, bringing the loose ends through the loop as well. Pull tight to secure the knot.

Materials You’ll Need
When it comes to tying a bracelet knot, there are a few key materials you’ll need to have on hand. Whether you’re a beginner or an experienced knot maker, having the right tools will make the process much easier and more enjoyable. Here are the essential materials you’ll need:
1. Bracelet Cord
First and foremost, you’ll need a bracelet cord. This can be made of various materials such as nylon, leather, or cotton. The choice of cord depends on the style and durability you’re looking for in your bracelet. Some cords come in different colors and patterns, allowing you to add an extra dimension to your design.
2. Scissors
Next, you’ll need a pair of scissors. These will be used to carefully trim the bracelet cord and any excess material. It’s important to have sharp, precision scissors to ensure clean cuts and neat edges. A good pair of scissors will make the process smoother and prevent frayed or uneven ends.
3. Ruler or Measuring Tape
Having a ruler or measuring tape handy is crucial for accurate measurements. This will ensure that your bracelet fits perfectly and comfortably on your wrist. Whether you’re making a snug bracelet or a looser one, precise measurements are key to achieving the desired fit.
4. Glue or Clear Nail Polish
Lastly, it’s always a good idea to have some glue or clear nail polish on hand. These will come in handy for securing the ends of the cord, preventing fraying and unraveling over time. Applying a small amount of glue or clear nail polish to the ends and letting it dry will give your bracelet a polished and professional finish.
Conclusion
Tying a bracelet knot may seem like a simple task, but it requires attention to detail and practice to achieve that perfect knot. In this article, I have shared valuable tips to help troubleshoot common knotting problems and ensure your bracelets turn out beautifully every time.
One of the key takeaways is the importance of proper tightening. By ensuring that your knots are tight, you can prevent them from slipping or coming undone.


